
Thanks to our Secret Snowflake event at work that took place all this month, I found myself revisiting an old hobby I had enjoyed a couple years ago. As anyone semi-close to me knows I blow through hobbies like a crazy person-once I can afford the class my next thing is to try glass blowing, I’ve wanted to do this forever. Whether it’s something crafty related, or writing books, or genealogy, or photography, or running, or yoga, or playing various instruments, or (ahem) blogging-yes I’ve done this once before! I get super-enthused about something and it’s all consuming, until I inevitably burn out. This is always kind of saddening, even though I know it will happen, but it comes with the realization that I can find something new and exciting. But I have a closet full of cool crafty stuff that comes in handy beads and chains from past jewelry making endevors that Fiona can now use in school projects or for her own beautiful jewelry making, tons of yarn, a box as large as Alexis filled with felt in every color and pattern and texture, papers, fabric, stickers, so much fun and potential. And in cases like my secret snowflake, sometimes I find my self revisiting these old hobbies. I wanted to make my secret snowflake one of my light up trees and decided that it needed something cute to go with it, to make a nice display. We were to give our snowflake small gifts throughout the month of December, I missed the first week with pneumonia-fortunately a friend from work covered for me that week. I decided some cute little penguins would be perfect for winter and re-ordered one of my favorite felting books from the library, see below. It was time to jump back into animal felting.
A couple years ago, when Fiona was asked what she wanted for her birthday she asked me to make her a barn with animals. I was so honored that she asked for me to make her something, that the things I had in the past made for her were special enough to her that they warranted more mommy made items. I was now on a mission to make something really extra special for her. I wanted to try something new. And since I was about 8 months pregnant at the time of her birthday party, I really wanted to make something special for her as I was worried I wouldn’t ever have time to do cool crafty things again with two little ones. Fortunately I was wrong!
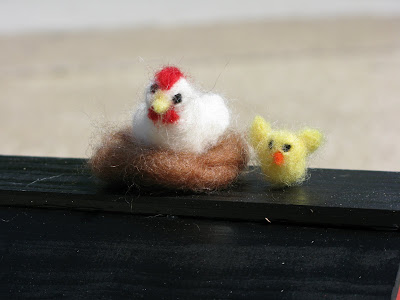
In the past, I’d tried knitting things and made tons of stuff out of felt, but wanted something more toy-ish looking as felt tends to be so flat, even when stuffed. After some basic research via google on making animals I discovered felted animals. So I decided to try it out. I ordered a whole slew of felting books from the library and headed to Jo-Ann Fabrics to buy a few colors of wool roving, felting needles, and a small cut of thick foam. Following the directions in my favorite of the books I ordered entitled Wool Pets by Laurie Sharp, I soon had a small menagerie of assorted animals and one little girl who was supposed to look like Fiona but looked more like a muppet. 
 |
| From felted animals |
 |
| From felted animals |
|
|
| From felted animals |
 |
| From felted animals |
 Muppet girl Fiona |
| From felted animals |
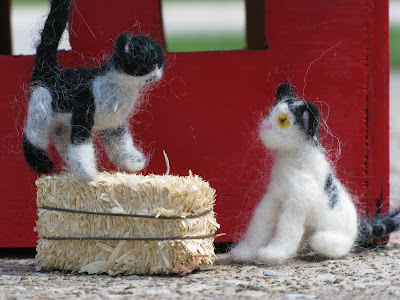 These are our cats Little Mo and Papagen |
| From felted animals |
 |
| From felted animals |
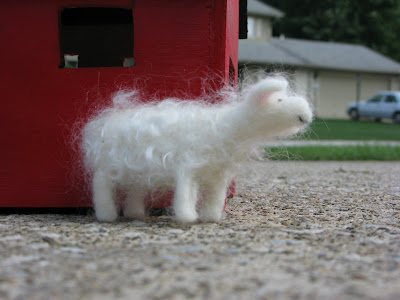
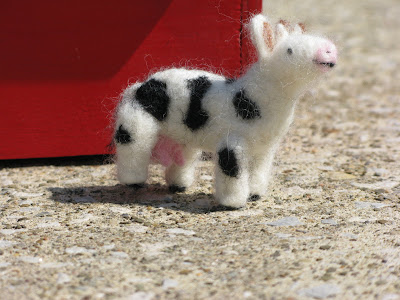
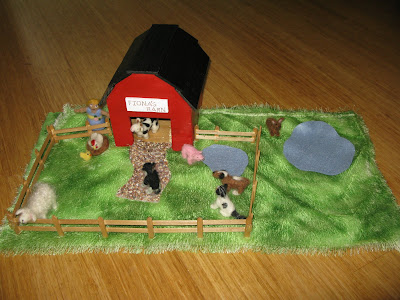
Then I made a fun little barn with a removable roof so she could easily play in the barn. My husband helped me cut out the windows, while I’m ok with the table saw and miter saw, the jig-saw seemed a little more unpredictable.
 |
| From felted animals |
 |
| From felted animals |
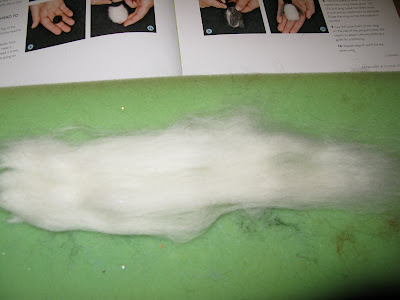
Making felted animals isn’t super hard. You start with a bit of wool.
 |
| From felted animals |
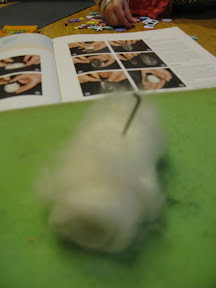
A special barbed needle tangles the wool as you repeatedly jab the wool (and your fingers-ouch!) with the needle, eventually forming a shape. To make the penguins body I rolled up the wool and then stabbed it, to make flat shapes like the wings I just needled the flattened wool shaping the outline as I go. Appendages to the animals are attached by needling the wing, foot, whatever to the body by again repeatedly stabbing with the needle.
 I like Lexi’s little hand in the background working with stickers |
| From felted animals |
 Adding a wing to the baby penguin. |
| From felted animals |
Some cute little animals in front of the trees.
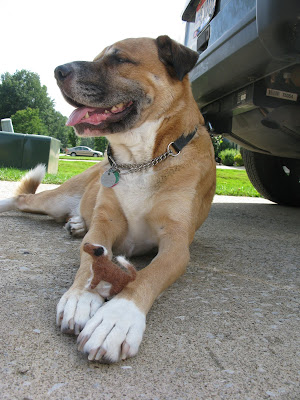
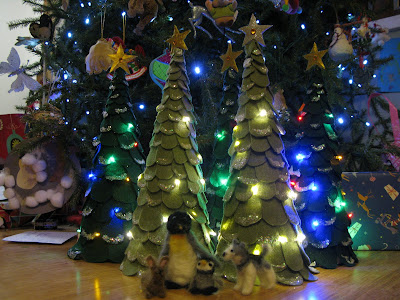 Little penguins with a rabbit and husky friend |
| From felted animals |


